Table of Contents

Image map calibration
About
This feature enables calibrating of an image of map and placing it over a background map. For example when you go to the ZOO or a park simply take a picture of its detailed plan displayed on a board at the entrance. After that you can calibrate the photo according to your background map and use it for your further navigation.
1. Get a map picture
- open the function in Menu > More functions > On-board Map Calibrator, a dialog appears
- tap Take to take a photo with you phone camera - the more quality camera, the better
- or Select to choose the photo from your device memory, from Dropbox etc.
We recommend to copy the image from your PC/scanner/internet or a DSLR camera to your Dropbox or the phone memory before selecting it to get better results
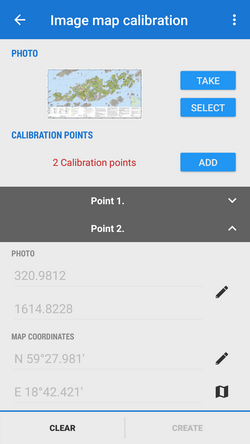
2. Calibrate the map picture
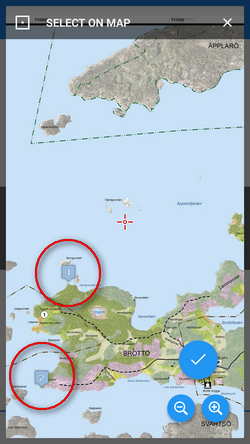
- tap Add and choose a distinct point (a hill summit, crossroads etc.) on your picture
- tap
 in Map coordinates menu and choose the same point on your background map
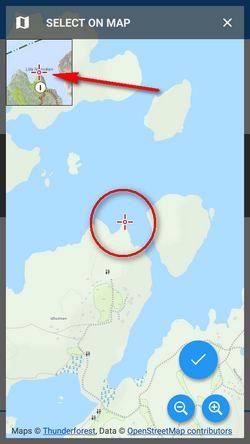
- repeat this procedure 4 times - try to select points making a rectangle. You can edit their positions by tapping
 or remove them.
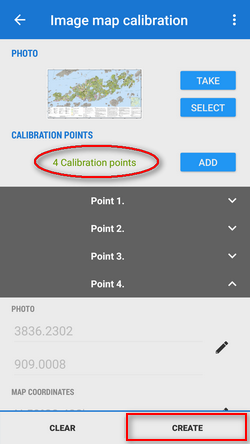
3. Generate your calibrated map
- when you are ready with your four points the status line turns green and the Create button activates
- calibration points overview appears - indicates their deviation.
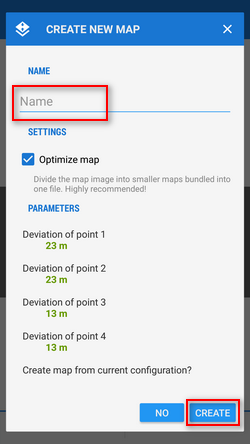
When it is not too significant you can name the new map and proceed to its rendering
If you have chosen a big image it is highly recommended to check Optimize map to divide the map image into many small maps (tiles) bundled into one file.
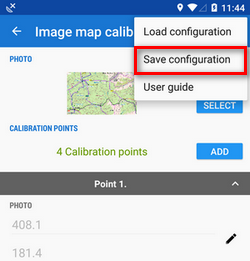
Save the calibration configuration for later use
If you have more map images of the same size and scale to calibrate you can use one configuration for calibrating them all:
- calibrate the first image
- save the calibration configuration:
- open the next image
- calibrate
- repeat ad hoc.
4. Use the calibrated map
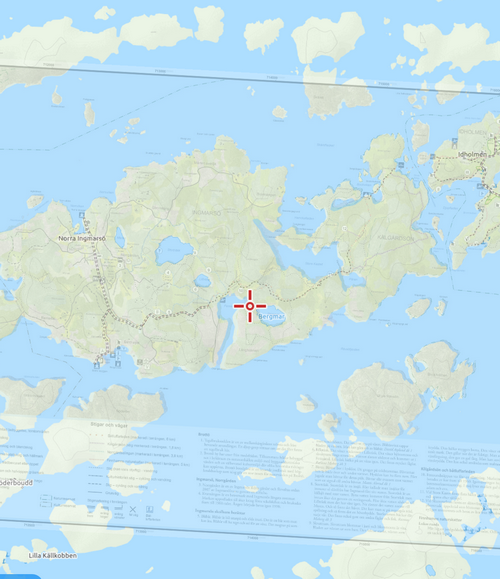
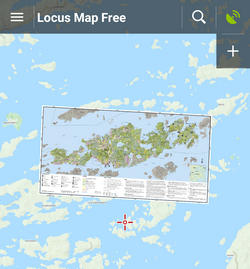
Your calibrated map appears now as an overlay
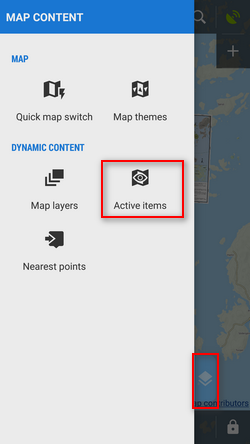
and can be managed in Map Items box or in the left panel Active items tab.
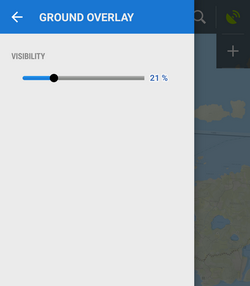
You can change opacity of the calibrated map by selecting it and moving the opacity slider: