Table of Contents

Navigate to...
Standard voice navigation as you know it from your car or other applications.
1. Select Target
Firstly, you have to tell Locus where you want to go.
Directly on map
The simplest and fastest (and the least accurate) way.
- hold your finger on the place on the map you want to be navigated to
- a popup with address emerges, tap “>” and select Navigate to
Other location options
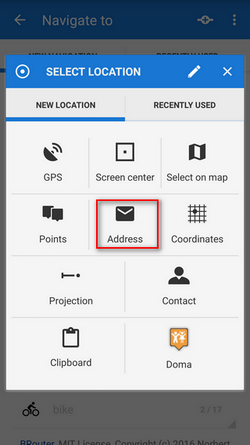
When you need accurate or special definition of your target location, use location selector:
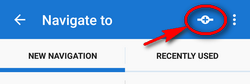
- tap Menu > More functions > Navigate to

- select method of defining target of your route:

Point from Data manager
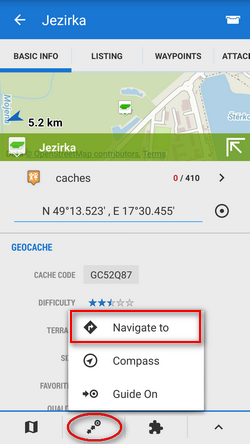
Use e.g. in case you want to navigate to some geocache from your database:
- tap it to display the point detail screen
- tap
 button from the bottom panel and select Navigate to
Point on map
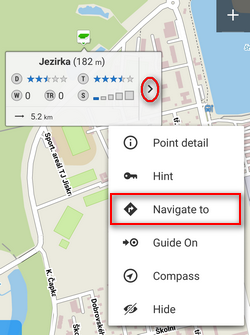
Similar to the first method but now you select directly some point of interest:
- tap a point of interest displayed on the map (a geocache or some LoMap POI)
- tap “>” on the point label and select Navigate to
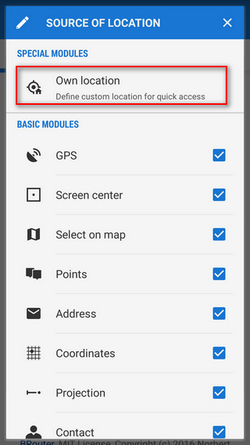
Own navigation target for repeated use
- start Navigate to and tap
 :
:
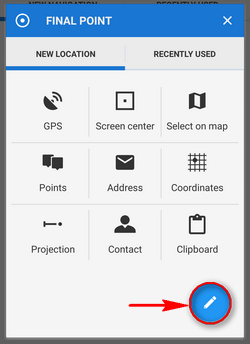
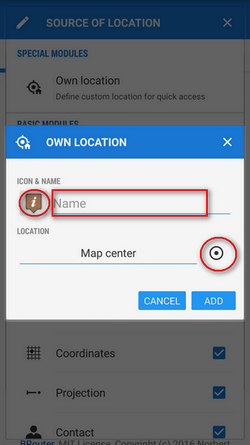
- select own location in the next menu:
- set the icon and name of the location (home, work, grandma…) and tap
 to select method of defining the target:
- define your target by showing it on the map, address etc.:
- confirm. Your navigation destination appears among the location selecting methods:
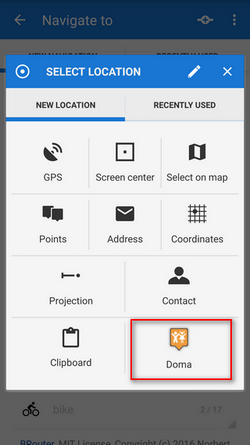
When you start navigation next time, just select the target from the grid.
Starting point of your route can be re-defined too, just tap ![]() next to it and select location method.
next to it and select location method.
2. Add Via Points
You can insert up to three places you do not want to miss on your route:
- tap
 in the topbar
- select via point location definition (map center, GPS, address…)
- via points display between the start and final points of your navigation route
- you can change order of the via points as well as starting and final points by dragging them up or down on the left side
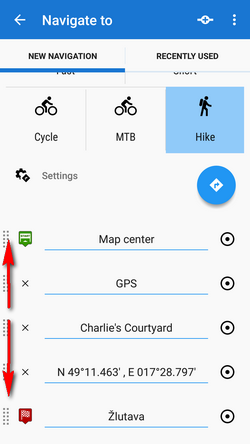
- you can change names, location of the via points (tap) or remove them by tapping “x”.
If you need more sophistically planned route, use Locus Route Planner!
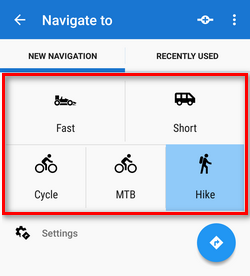
3. Select Activity or Means of Transport
Next step is to choose sports activity or means of transport an route (aka navigation profile). The selection depends on used routing services.
Online routing
GraphHopper
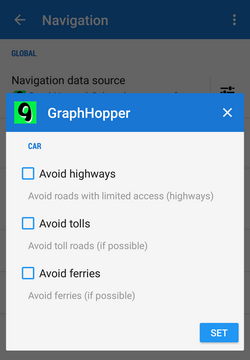 Additional settings of GraphHopper profiles are relevant only to the 'car' profile.
YOURS
This service has no additional settings.
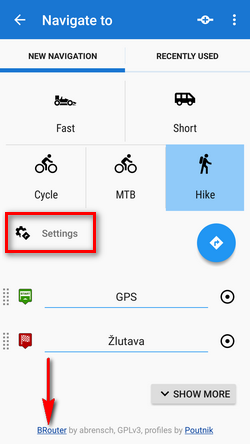
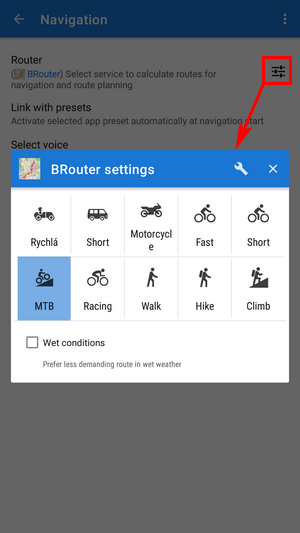
BRouter - offline routing
Offline navigation and route planning in Locus is possible thanks to a free cooperating app BRouter:
- download it, install it and download routing data to it - start it separately and select Downloader
- set BRouter as default router in navigation settings.
BRouter settings
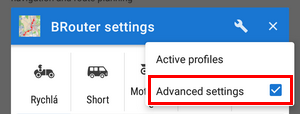
BRouter offers much more sophisticated profile settings. Not only you can add more conditions relevant to various means of transport,
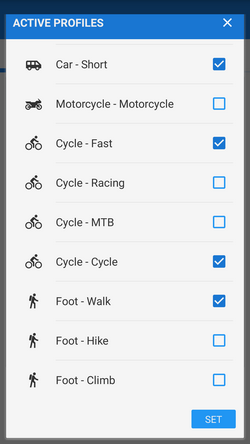
you can also change the profile selection:
4. Navigation START
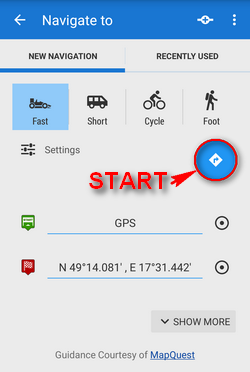 After tapping the START button, the navigation panel and control menu are displayed:
 More here >>
Advanced options
Show more button displays further setting options:
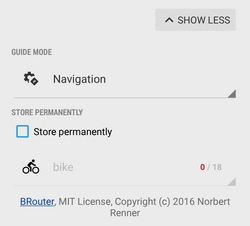
- Guide mode - fine-tune the way of navigation:
- Navigation - full turn-by-turn navigation you are used to from your car
- Guidance (with commands) - simplified mode with TTS direction changes notifications
- Guidance (no commands) - the simplest way without any notifications
- Store permanently - if checked, you can store you navigation route to the device memory for later use. You can select a folder for it or create a new one.
Recently navigated routes
Go to the 'Recently used' tab. Tap one of the routes, select between navigation and guidance and tap to start. 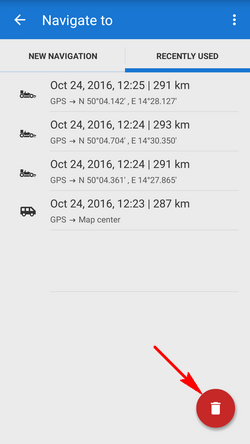
If you want to delete the navigation history list, tap red ![]() .
.